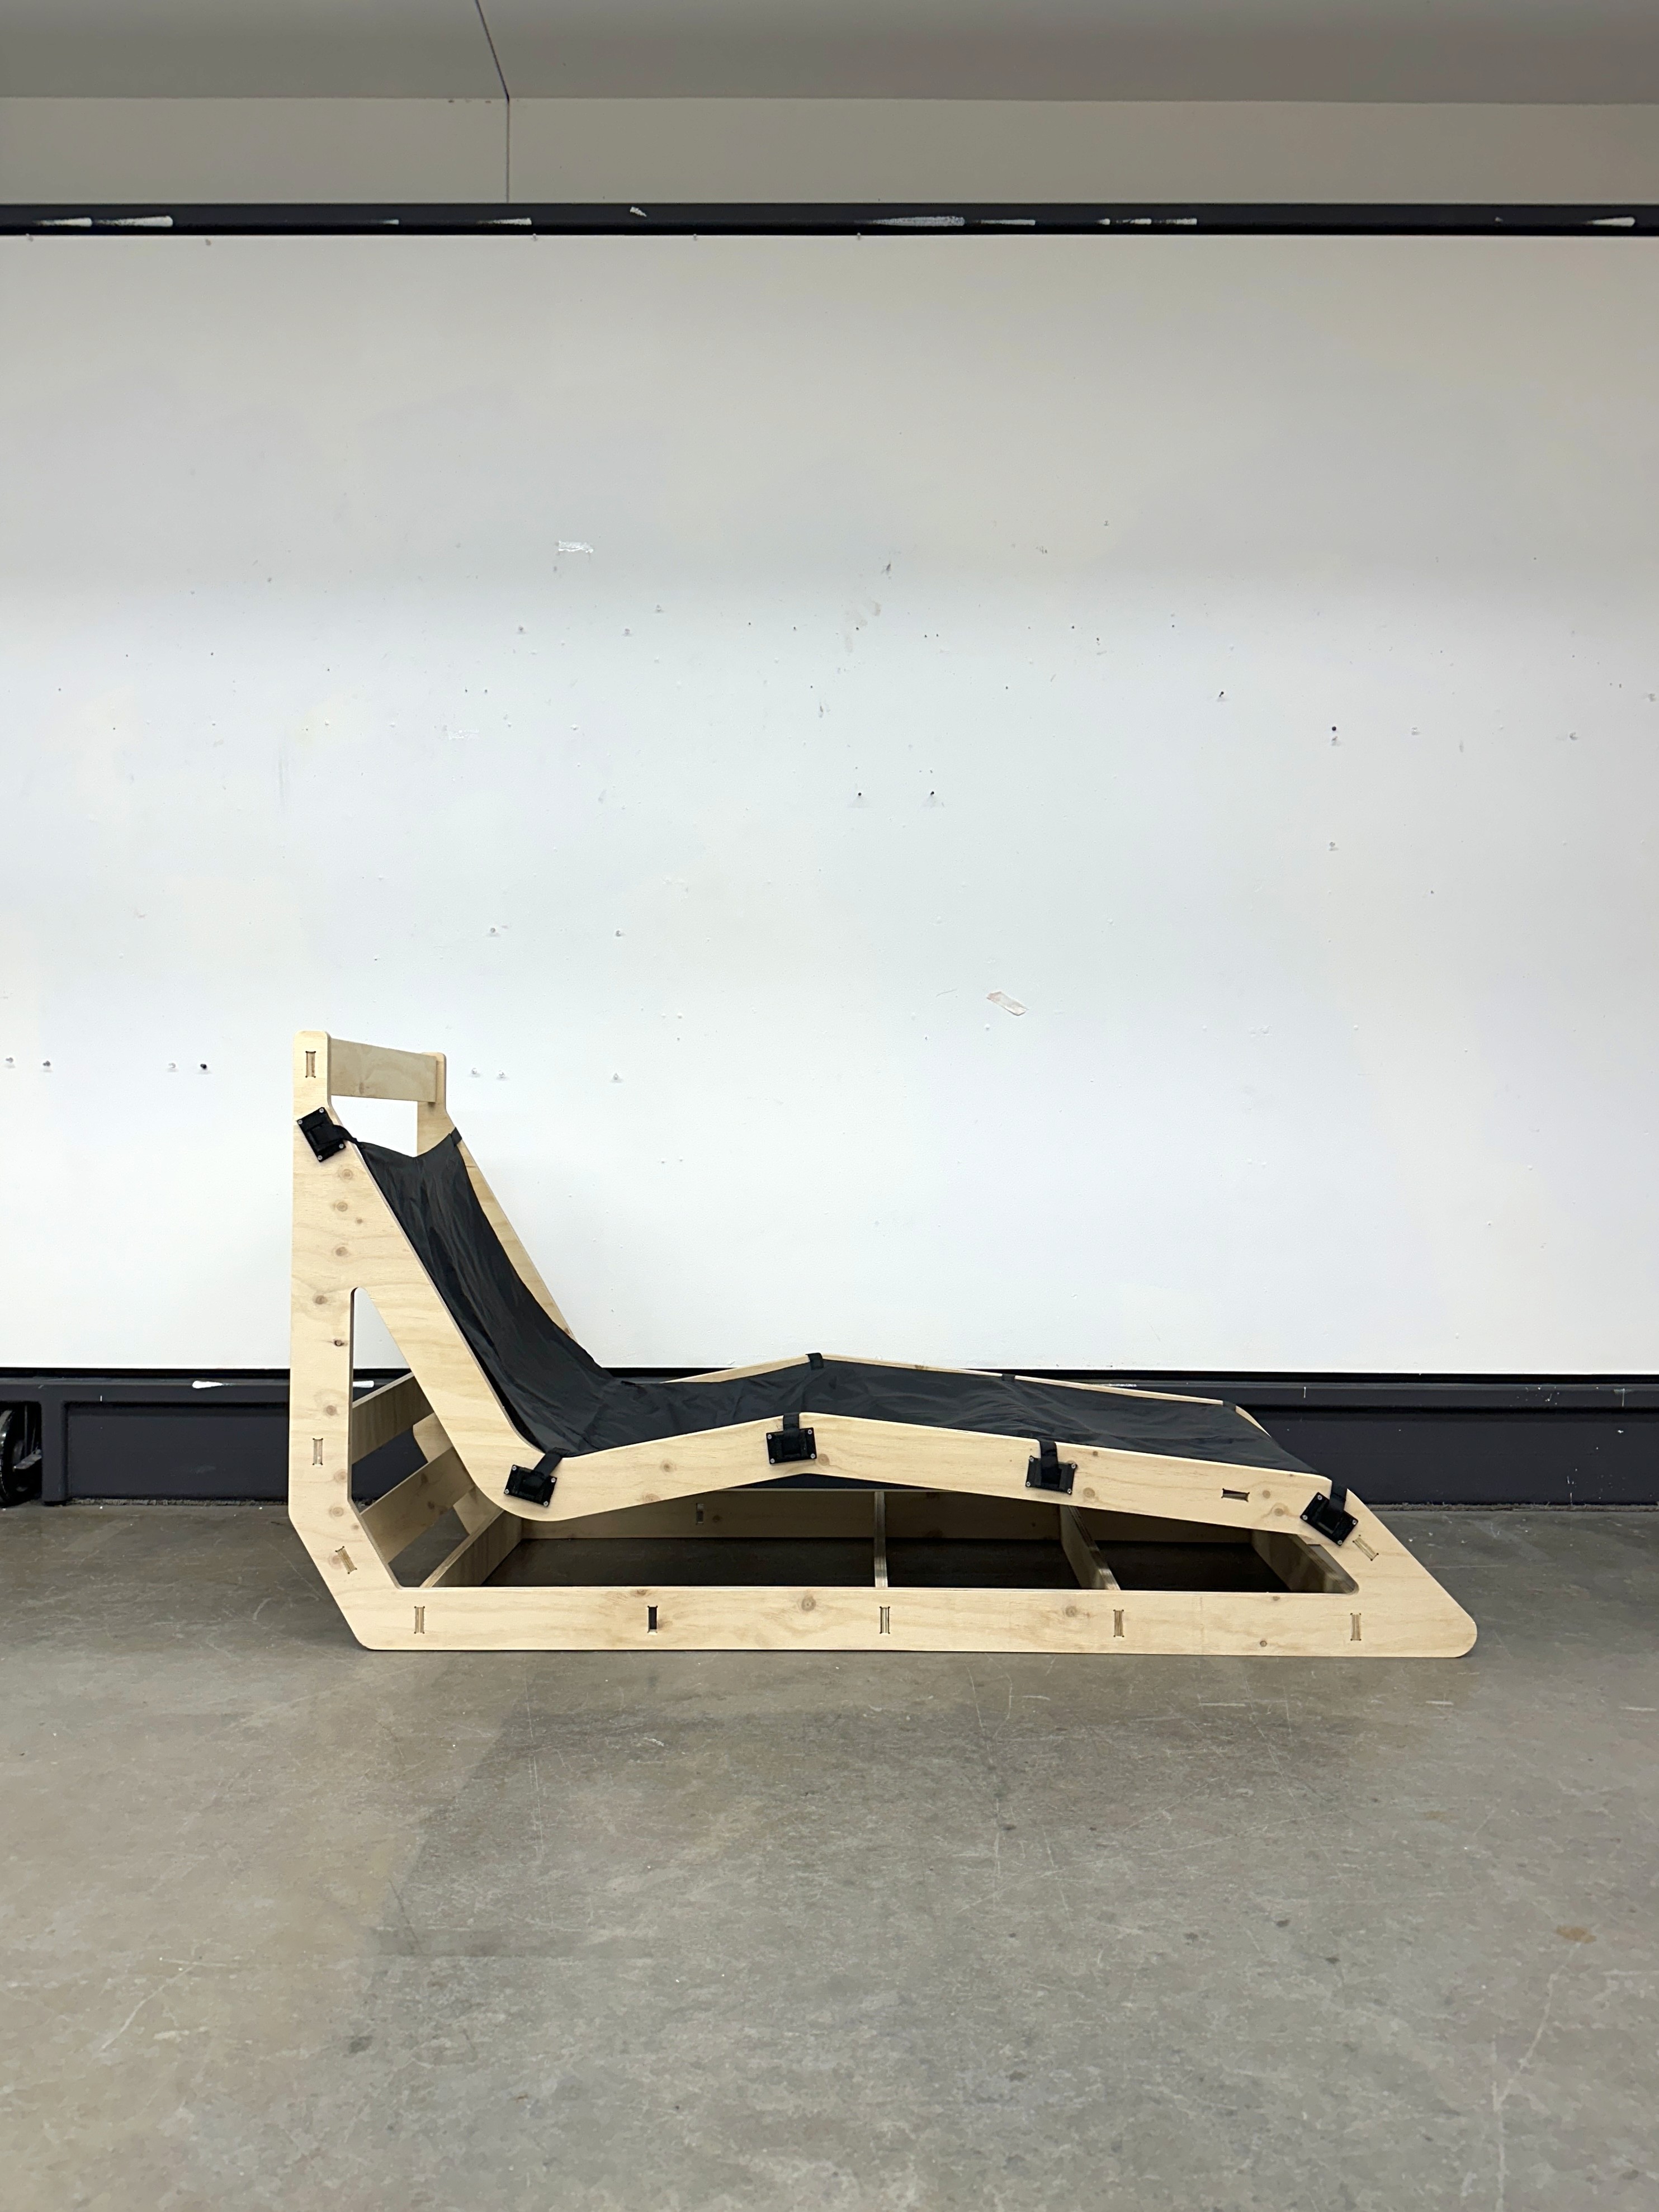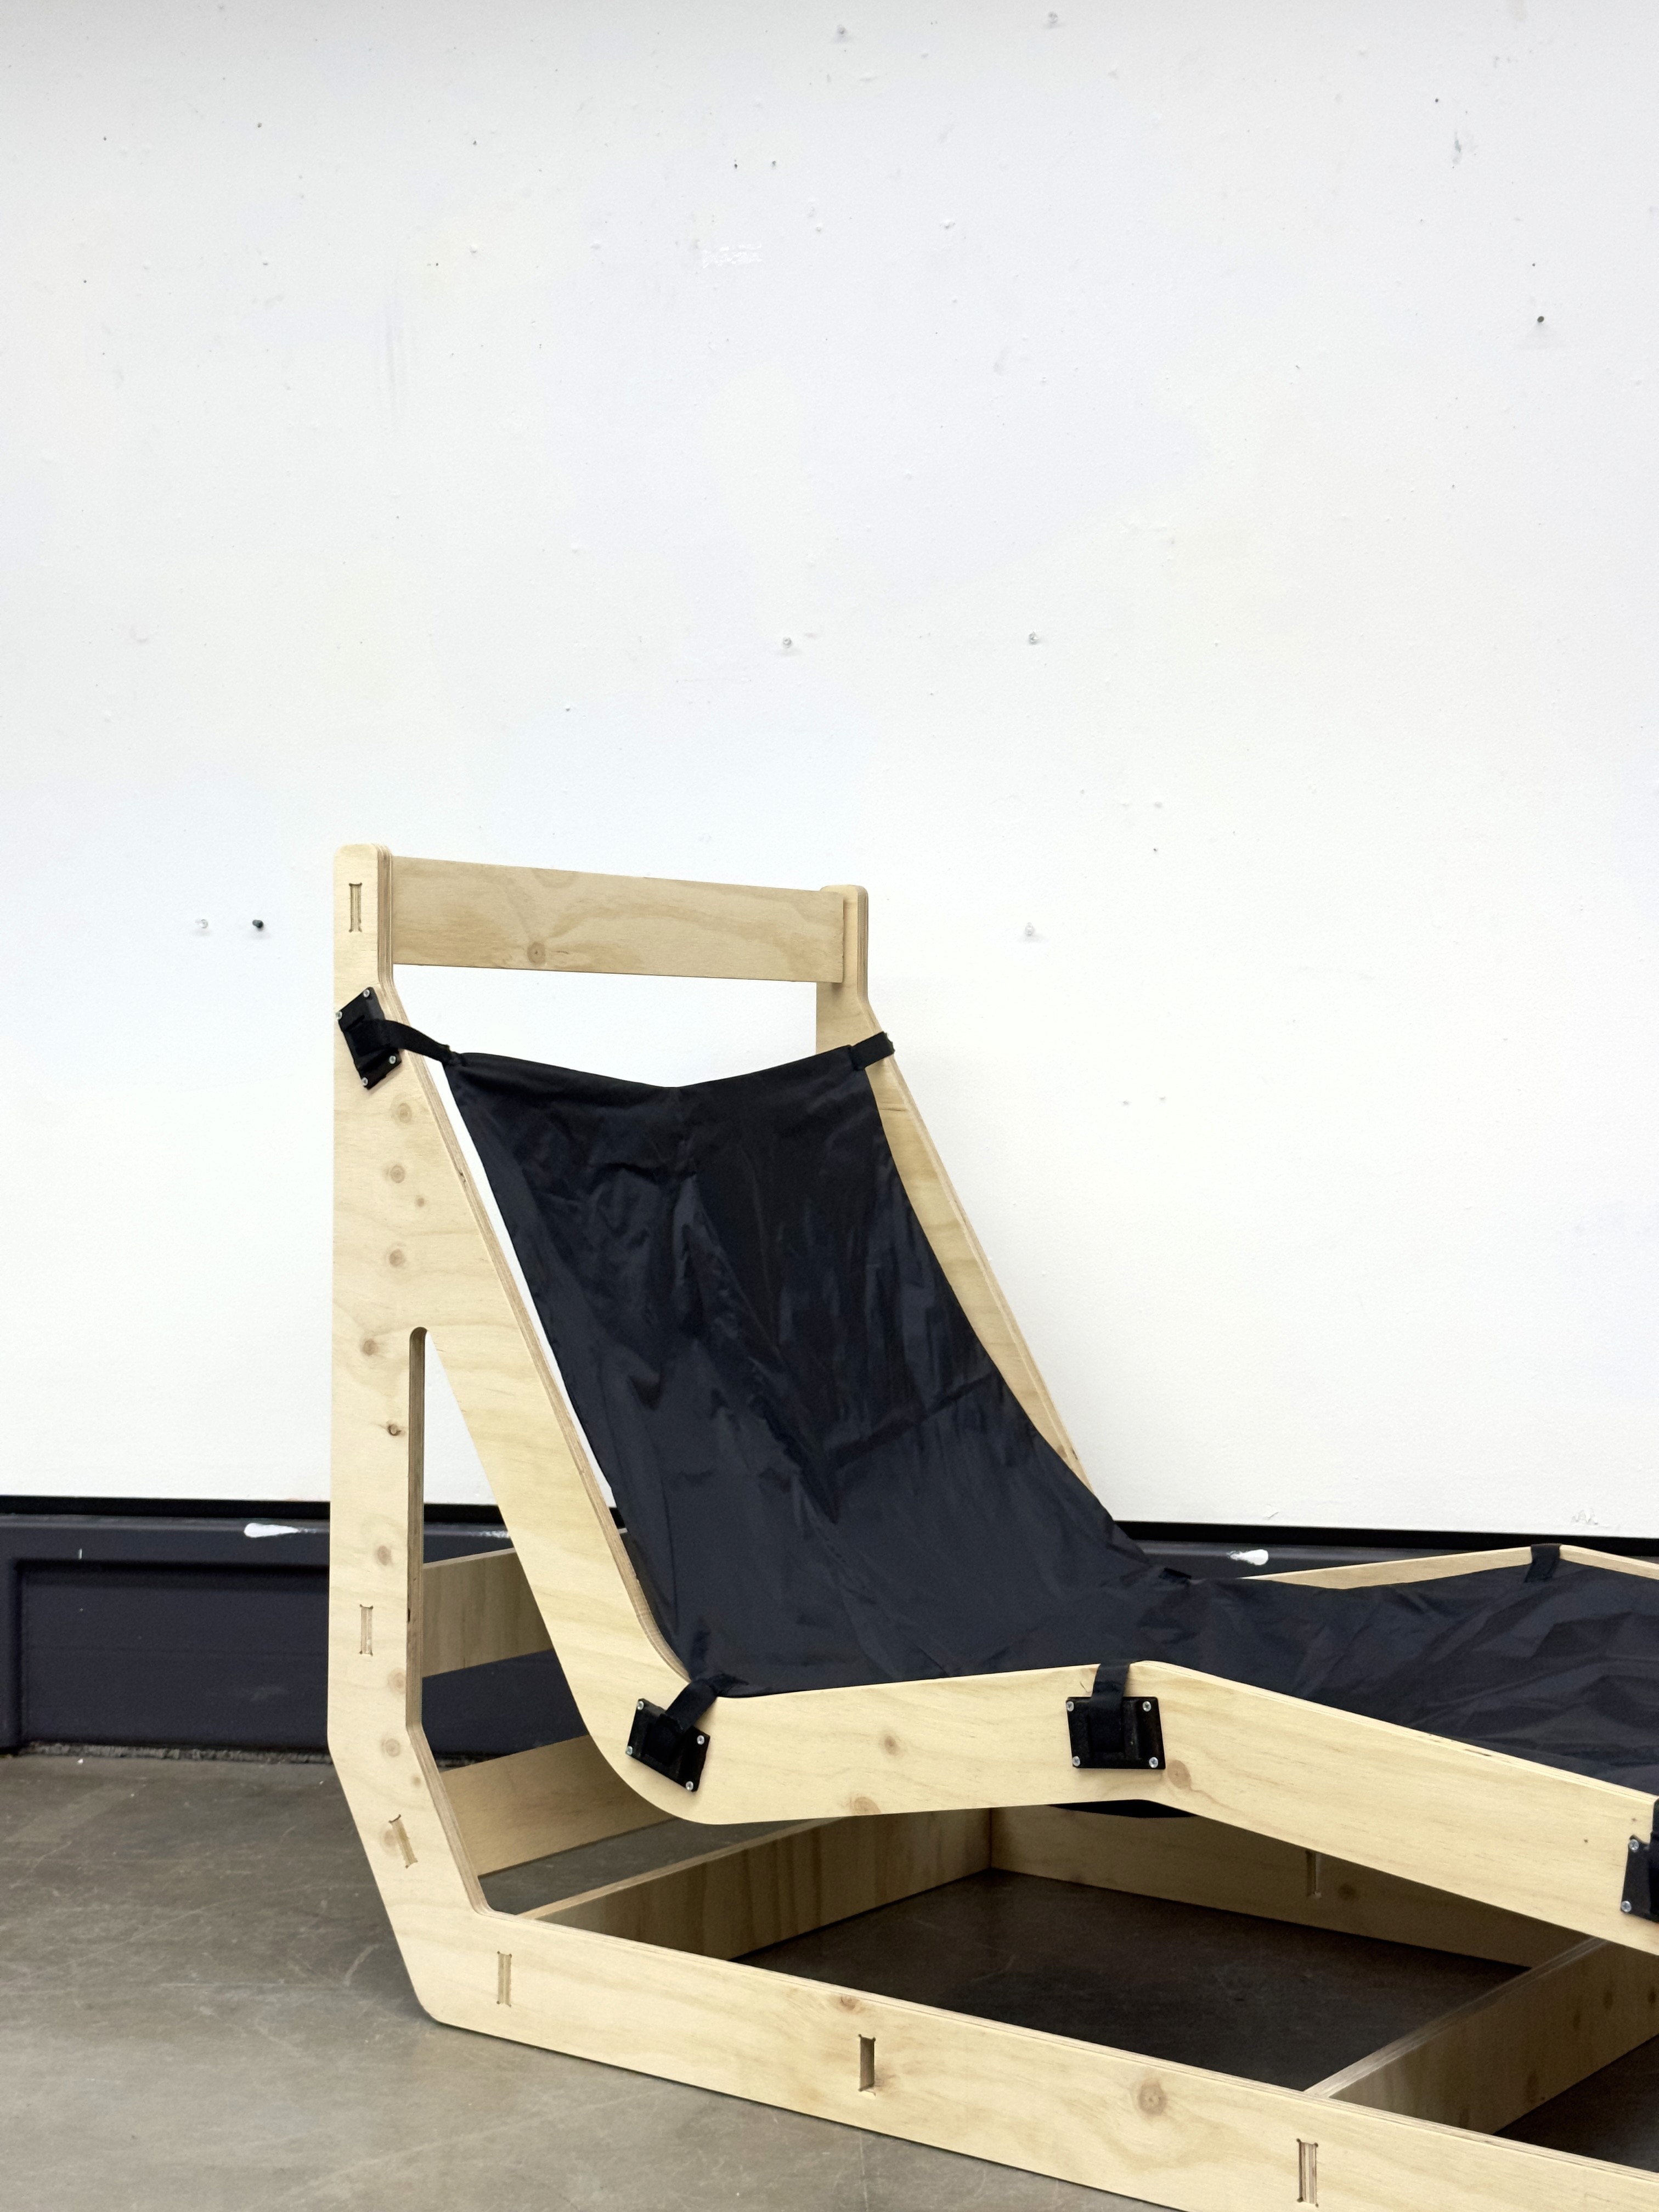
- Plywood Frame
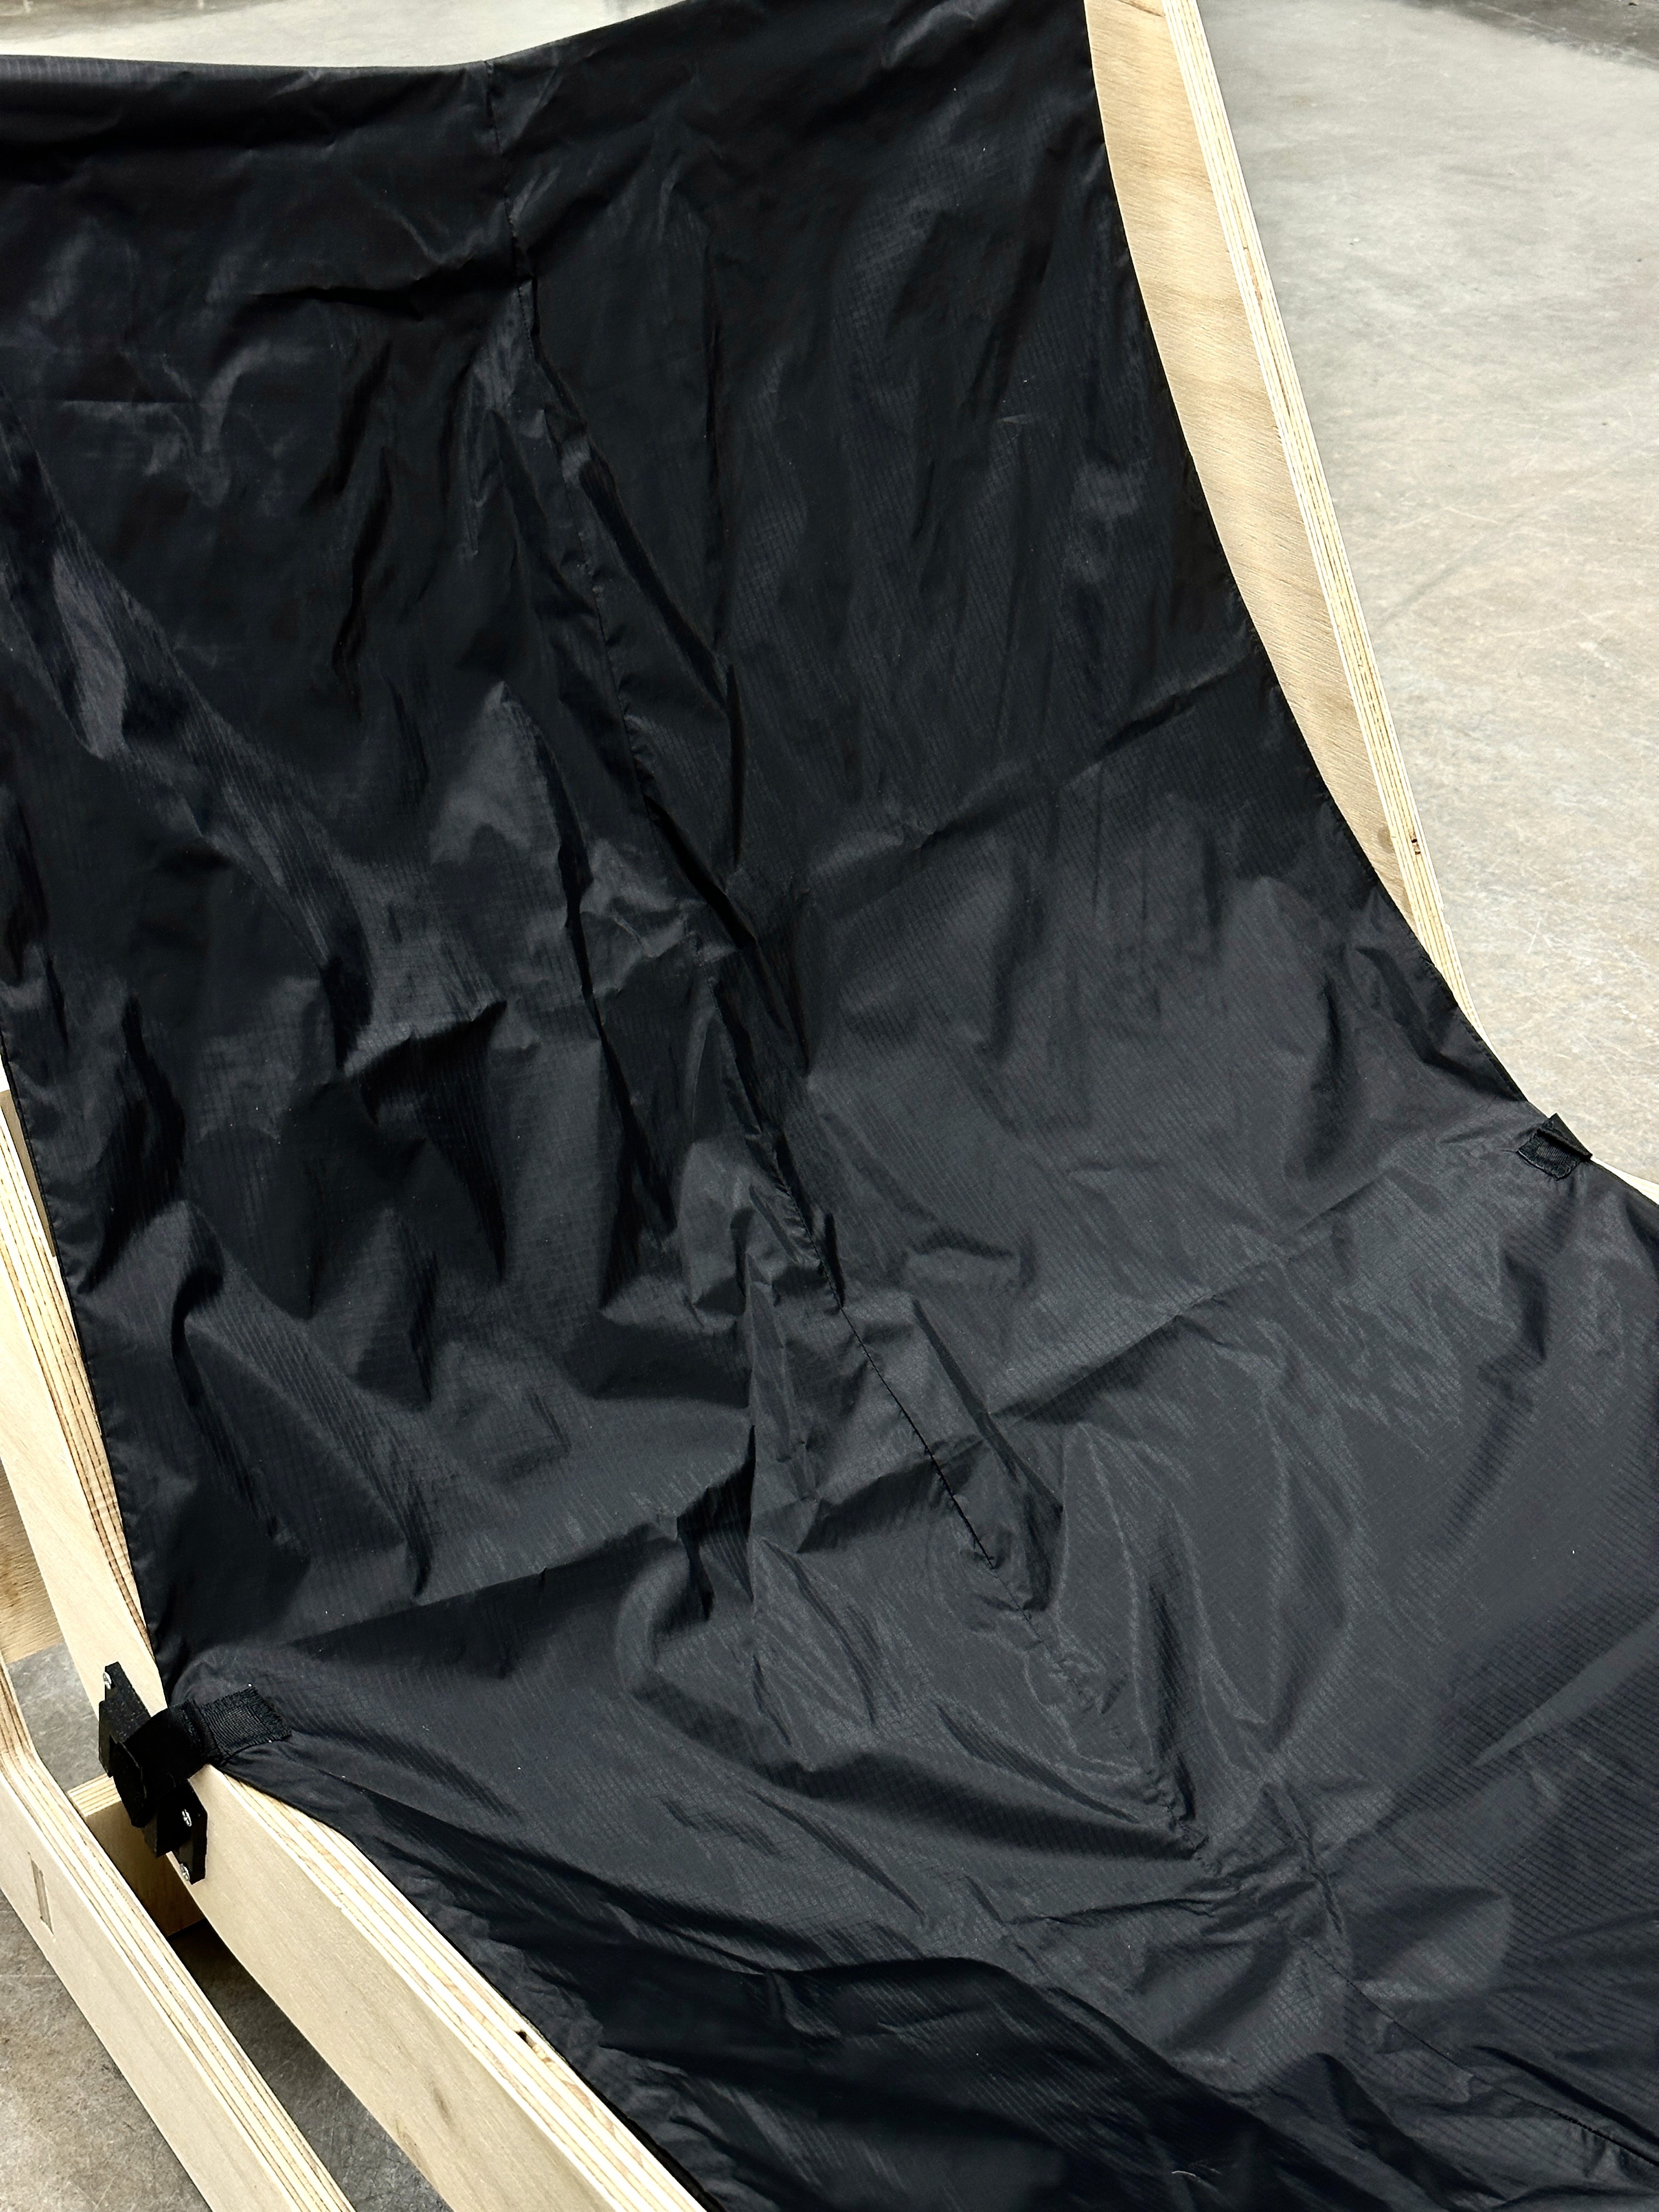
- Ripstop Nylon Seat
- PLA 3D Printed Brackets
- Chair Modeled in Rhino + Fusion
- CNC Routed Plywood 3/4" Frame
- Webbing Attached to Brackets for Removable Seat
- No Glue Assembly
Ideation
- Fabric as Structural Element
- Modular Disassembly System
- Ergonomic Body Support
- Clean transitions between materials
- User-friendly assembly logic
- Contoured support geometry


Initial File Work
- Rhino 3D - Primary frame modeling emphasizing organic ergonomic curves
- Fusion 360 - Precision-engineered bracketry with tolerance-controlled assembly features for webbing
- CLO - Pattern development for fabric seat, focusing on drape distribution for comfort.


- Material Testing - 1/2" MDF prototype validated structural concepts while exposing flexion limitations
- Modular Joinery - Eight dog bone joints enabling tool-free slot assembly
- Failure Analysis - First-gen weaknesses informed later material upgrades
Prototyping and Iteration


- Joint systems demonstrated precise friction-fit functionality
- MDF's dimensional stability allowed accurate dry-fit verification
- CNC-cut edges provided clean mating surfaces for tension testing
- Conducted preliminary load testing with partial component set
- Bracketry prototypes remained in iterative development phase


Structural Validation Challenge ▲
Early success in static assembly gave way to critical revelations during dynamic testing.
Reasons for Structural Failure:
MDF material choice and thickness. There's no grain for MDF so the lack of strength is prevalent. I could have maybe been successful with a 3/4" MDF instead of 1/2" MDF
Frame Design. The thickness of the frame was simply too thin, this had to be improved in the final.
Changes for Final Design
Make the dog bone joints smaller to ensure it doesn't break at the joint
Make sure the male and female parts of the dog bone joints are the same measurements. Double and triple check.
Chose a thicker, stronger material for the job. Plywood will be better suited for strength and get at a larger width than .5"
Consider a way to add support to the upper part of the chair, it feels flimsy. This could be a result of the material choice and thickness, but overall something to help stop it from bending when weight is applied. Possibly make the frame larger than 2" height.
Final Assembly
- Frame is now 3.5" wide
- Purchased Plywood at .75" instead of MDF at .5"
- Triple checked measurements in dog bone joints.
- Cross supports are flush with frame
- Added more cross support for extra strength
- 3D printed brackets have a thicker base.


- Structural Textile Integration - Executed lockstitch reinforcement pattern (square perimeter + X-axis cross) optimizing tensile load distribution
- Bracketry Installation - Precision-mounted 3D-printed tension nodes using calibrated torque settings


Conclusion
- Material Hybridity Achieved - Lockstitch-reinforced webbing now transfers loads through cantilevered geometry, transforming sewn seams into structural joints
- User-Centric Assembly Validated - Precision-cut dog bone joints enable tool-free assembly while maintaining <5/32" alignment tolerances
- Ergonomic Intent Realized - Contour-mapped geometry distributes body weight across tension zones as intended in early sketches
Thank you for viewing.
Back to Top